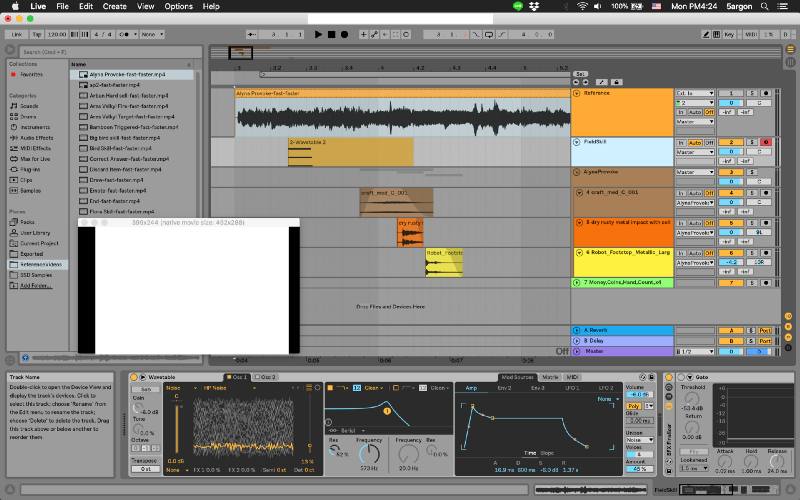
Preprocess a reference video for working with Ableton Live
When scoring a music or making sound effects for games, it is useful to shoot a video and look at it as you compose.


When scoring a music or making sound effects for games, it is useful to shoot a video and look at it as you compose. My DAW of choice is Ableton Live which supports throwing a video directly onto a track, but sometimes it looks very choppy or display just black. Why?
Let’s look at Ableton Live’s preferences.
Using Video
Live Versions: 8.4.1 - 10, Standard and Suite only Operating System: Mac, Windows Live is the perfect choice for…help.ableton.com
If your video is .avi coming from Fraps
I don’t know why but nothing I do with ffmpeg can make it viewable in Ableton Live. The solution is to batch convert them with Handbrake. After that the same option in ffmpeg works.
For example
Fraps -> ffmpeg H264 -> you get H264.mp4 that is unusable with Live.
Fraps -> Handbrake H264 -> ffmpeg H264 -> It is usable. (why??)
With Handbrake, select a folder as an input then choose “Add All Titles To Queue” somewhere in the menu. You can then batch Handbrake them.
If you video is choppy while playing songs
It is too large
First of all you might resize them down to 400 pixel-ish. You will likely be viewing them just for timing/reference anyway.
Turn off other videos that is not around your play head
When you press space bar Live will load ALL videos you have on the timeline. Turning the track button off does not help, but clicking on a video’s clip and press numpad 0 to disable them works. Live won’t load them.
Insufficient keyframes
Even at small resolution it is still lagging, turns out we have to increase the keyframe. We will do this with ffmpeg (After Handbraking first, just to make sure)
First let’s learn how to batch ffmpeg in macOS. In fact, this is the whole point of this article so I don’t have to gather information from Google again the next time I want to do this.
for i in *.mp4; do ffmpeg -i "$i" ...... "${i%.*}-new.mp4; done
You probably can figure out i is each input’s file name. For {} with % it means we are removing whatever that matches the pattern. This pattern is dot then anything. So we can remove it’s file extension part and put something new at the end. For the rest of that syntax you can read :
BashFAQ/073 - Greg's Wiki
Parameter Expansion substitutes a variable or special parameter for its value. It is the primary way of dereferencing…mywiki.wooledge.org
Now the highlight is we will use -force_key_frames to add keyframes. The command would become like this :
for i in *.mp4; do ffmpeg -i “$i” -force_key_frames “expr:gte(t,n_forced*0.03)” “${i%.*}-faster.mp4”; doneYou can adjust 0.03 to be anything you want. When the time t is greater than a multiple of 0.03 then we will add a keyframe. Since my video is 30 FPS, I want a keyframe every 0.03 seconds so I can have 30 keyframes per second, a keyframe every frame.
Keyframe is not the same as frame per second. It is a check point which we have complete information. Anywhere we don’t have a keyframe the codec’s algorithm will try to figure out the content. By doing this it is like we have a bunch of still images packaged into a video.
Key frame - Wikipedia
In software packages that support animation, especially 3D graphics, there are many parameters that can be changed for…en.wikipedia.org
It is probably overkill but Ableton Live document said we should have a keyframe on every frame. I tried putting 2 instead of 0.03 and the video is still smooth as baby’s ass. At 0.03 interval my 200KB video became 5MB though, but any size is ok for referencing as long as it is smooth.